Soundmouse recommends uploading audio files prior to uploading metadata. This can be done in two different ways: 1) individually via Google Chrome or Safari, or 2) in bulk by downloading and installing the Soundmouse Uploader for Windows or Mac. Be sure to provide both album and library artwork.
Prior to beginning an upload, make sure that you are in the correct Workspace and that you are targeting the correct Module.
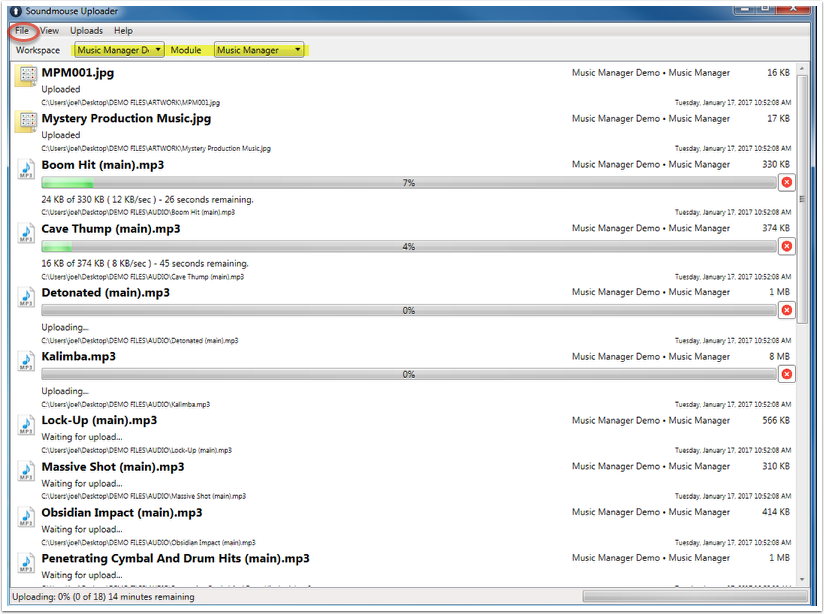
After opening the bulk uploader application, select a track to upload by first clicking on File. Locate the file to be uploaded and then click Add. Alternatively users can drag and drop a folder containing tracks into the window. The files will begin uploading immediately.
Selecting Stop All from the Uploads menu will stop those files not yet uploaded. Use Resume All to reinitiate.
Cancel and Clear are used to remove unwanted files from the upload list and to prevent them from uploading in the future when clicking Retry All. Cleared files do not appear in the upload list.
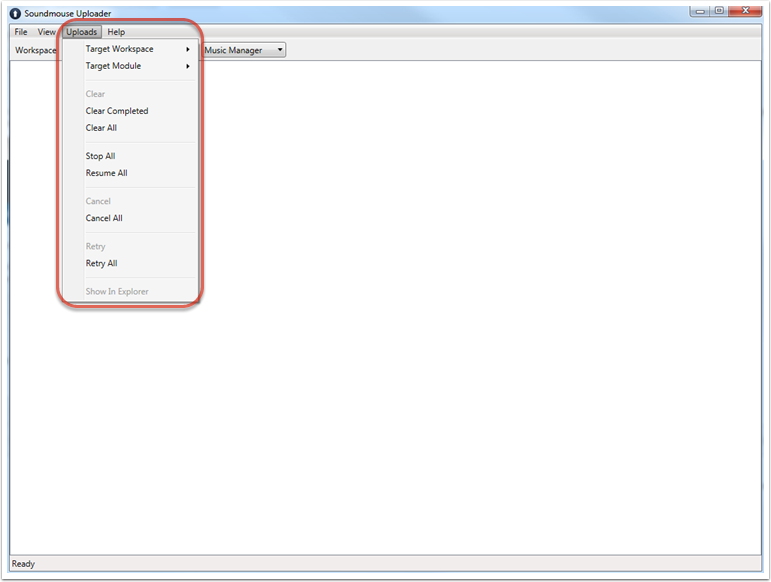
The uploader will remember all unfinished/stopped uploads (if signing in with the same username on the same machine) after closing the application, but it requires an action (adding a new audio file, clicking on Resume All) to reinitiate them.
Users should avoid mixing audio file types within a single workspace; consistency is key. Be mindful that different clients will have different preferences when it comes to audio file type: some may work only with WAV while others prefer MP3 320. It is recommended that users contact clients to determine the required audio file type.
Only files with a status of Uploaded will be visible on the Music home screen. Be sure to refresh the workspace to ensure newly uploaded tracks appear.
Walking away from your machine? Soundmouse advises users to disable hibernation/sleep modes and ensure that their machines are connected to a power source when performing bulk uploads.
Note: For information on how to deal with failed uploads, see our FAQs.
Comments
0 comments
Article is closed for comments.